Greasing your trailer bearings is an essential maintenance task that ensures smooth operation, safety, and longevity. Whether you’re a seasoned RV owner or a first-time trailer user, learning how to grease trailer bearings properly is crucial for preventing breakdowns and ensuring a smooth, safe ride.
In this comprehensive guide, we’ll walk you through the process of greasing trailer bearings, including helpful tips on the right grease to use, when to grease your bearings, and how often you should perform this maintenance.
What Are Trailer Bearings & Why They Need Regular Maintenance?
Trailer bearings play a crucial role in reducing friction in machines and enabling smooth wheel rotation. Over time, these bearings can wear out or lose lubrication, which could cause the wheels to seize or malfunction.
Regularly greasing trailer bearings prevents this, ensuring that your trailer runs smoothly and safely.
Various weather conditions, road debris, and stress expose the bearings, making them vulnerable to wear and tear. Proper greasing reduces the risk of failure and increases the lifespan of your trailer.
Tools and Materials You’ll Need to Grease Your Trailer Bearings
Before you get started, gather the following tools and materials to grease your trailer bearings properly:
-
Grease gun: Essential for applying grease into the bearings.
-
Wheel bearing grease: Choose high-quality grease suited for your trailer type. Marine wheel bearing grease is ideal for boat trailers.
-
Axle grease: Provides an added layer of protection to axle components.
-
Lug wrench: To remove the wheels.
-
Clean cloth: To wipe excess grease and clean the bearings.
-
Bearings and seals: If you’re repacking or replacing bearings, make sure you have the right replacements.
Step-by-Step Guide to Greasing Trailer Bearings
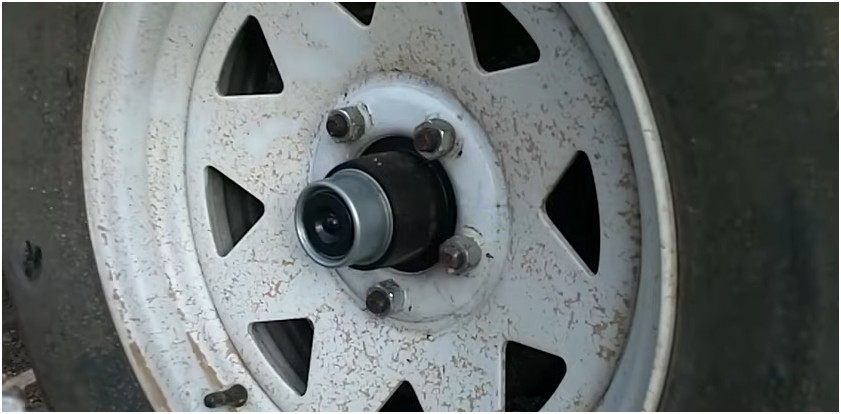
Step 1: Remove the Wheel and Axle
The first step in greasing your trailer bearings is to remove the wheel and access the bearings. Use a lug wrench to loosen the lug nuts and take the wheel off. If your trailer has a hubcap or dust cover, remove that as well.
Next, locate the axle and remove the axle nut. This will expose the bearing and allow you to begin greasing.
Step 2: Clean the Bearings
Before applying fresh grease, it’s important to clean the bearings thoroughly. Use a clean cloth to wipe away old grease and dirt from the bearing and the axle. If necessary, you can use a solvent to clean the parts more thoroughly.
Cleaning is crucial to ensure that the new grease will adhere properly and won’t mix with contaminants from the old grease.
Step 3: Pack and Apply Grease
Once the bearings are clean, you can begin applying grease. There are two ways to pack grease into trailer bearings:
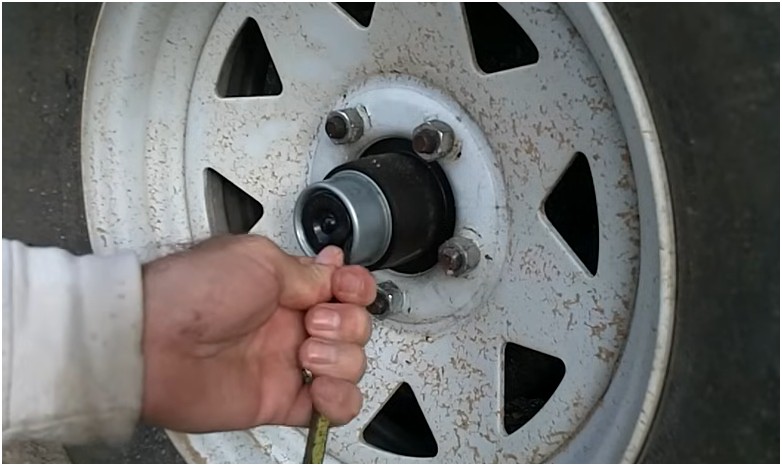
-
The Hand Packing Method: Take a generous amount of grease and apply it into the bearing by pressing it with your hands. Ensure the grease is packed inside the bearing, filling all the gaps.
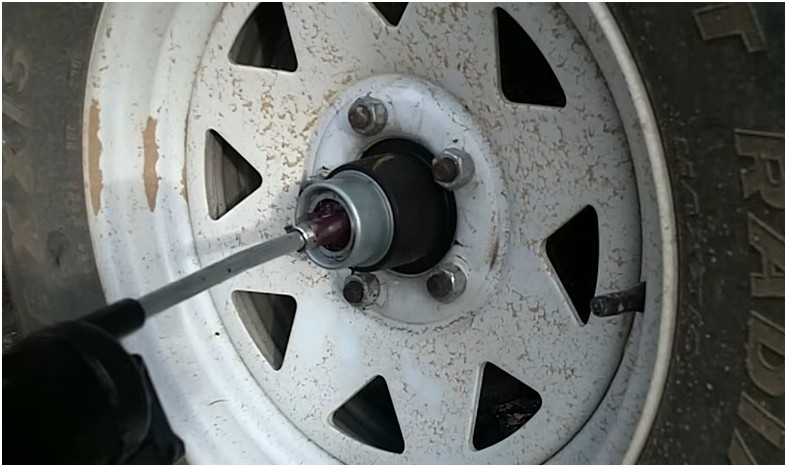
-
Using a Grease Gun: For a cleaner and quicker option, use a grease gun to fill the bearing with grease. Attach the gun nozzle to the fitting and pump until the grease begins to appear.
Remember, the goal is to ensure the bearings are thoroughly packed without overpacking. Too much grease can cause pressure buildup and leaks.
Step 4: Reassemble and Test
After greasing, carefully reassemble the bearing and axle, ensuring that everything is correctly aligned. Tighten the axle nut securely and put the wheel back on. Before you hit the road, give the wheels a few manual rotations to ensure the grease is properly distributed within the bearing.
Repacking trailer bearings is a critical part of trailer maintenance. Over time, grease can become contaminated or lose its effectiveness. To repack trailer bearings:
-
Remove the bearings from the hub.
-
Clean and inspect the bearings for any signs of damage or wear.
-
Pack the bearings with fresh grease and reassemble the wheel hub.
-
Regularly inspect the bearings for wear and tear and replace them when necessary.
Repacking your trailer bearings every 12 months or 12,000 miles (whichever comes first) is a good rule of thumb.
How Often Should You Grease Trailer Bearings?
Greasing trailer bearings is essential to achieve smoother operation and safety. Here’s a general guideline for how often to grease trailer bearings:
-
General use: Grease every 12 months or 12,000 miles.
-
Marine use: If you own a boat trailer or use your trailer in water, grease your bearings more frequently, especially after every trip through saltwater.
-
Harsh conditions: In extreme conditions (e.g., heavy loads, hot temperatures), greasing every 6 months may be necessary.
Best Grease for Trailer Bearings: Choosing the Right Type
Choosing the right grease for trailer bearings is crucial for their performance and longevity. Here’s a breakdown of the best options:
-
Wheel Bearing Grease: This is the most common grease used for general trailer maintenance. It’s designed to protect against heat, friction, and moisture.
-
Axle Grease: Used for additional protection on the axle. It’s thicker and more resistant to heat and pressure.
-
Marine Wheel Bearing Grease: If you have a boat trailer, you should use marine-grade grease, which is designed to withstand water exposure and protect against rust and corrosion.
Frequently Asked Questions
1. How Often Should You Grease Trailer Bearings?
It’s recommended to grease your trailer bearings every 12 months or 12,000 miles, but if you use your trailer in harsh conditions (like saltwater environments for boat trailers), you may need to grease them more frequently.
2. How to Repack Trailer Bearings?
To repack trailer bearings, remove the old grease, clean the bearings thoroughly, and apply fresh grease using the hand packing method or a grease gun. Make sure the bearings are fully packed without overfilling.
3. How to Pack Trailer Bearings?
Pack trailer bearings by pressing grease into the bearings until the grease fully absorbs. You can use your hands or a grease gun for this. The key is to ensure that the grease reaches every part of the bearing, providing proper lubrication.
4. How to Pack Wheel Bearings?
Keep Your Trailer Bearings in Top Condition
Greasing your trailer bearings is an essential task for safe and smooth trailer operation. Regular maintenance can prevent costly repairs and keep your trailer running efficiently.
Whether you’re a frequent traveler or a weekend warrior, greasing your trailer bearings ensures that your wheels stay properly lubricated, reducing friction and wear. Follow the steps in this guide to keep your trailer bearings in excellent condition for years to come.